Part II is a continuation of my earlier post on how to set up OpenContrail with Mirantis Fuel 6.1 (Juno). Now that we have set up the base environment, the next thing to do will be to download the Contrail plugin from Mirantis website, i.e. https://www.mirantis.com/products/openstack-drivers-and-plugins/fuel-plugins/ and start the deployment of the OpenStack cluster with Fuel and OpenContrail.
I used wget to downoad the plugin to my laptop (note that the web link may change as time goes by, hence the best way is to go to Mirantis website to get the latest update).
KVM-Host# wget http://plugins.mirantis.com/repository/c/o/contrail/contrail-2.1-2.1.1-1.noarch.rpm
Next, we will need to transfer the Contrail plugin from our laptop to the Fuel VM and install the plugin in Fuel
KVM-Host# scp contrail‐2.1‐2.1.1‐1.noarch.rpm root@10.109.0.11:/root
Fuel# fuel plugins --install /root/contrail‐2.1‐2.1.1‐1.noarch.rpm
With the Contrail plugin installed, we will proceed to create an environment in Fuel using the Web UI. Note that many of these steps are based on what was mentioned in https://www.youtube.com/watch?v=QQAUE4AY4x4
Steps
1) Log into Fuel Web UI and create a new environment. I am going to name my environment "Contrail" (you can give any name you want). Note that we will use GRE (instead of VLAN) and we will not select any additional services for our environment.
2) With the environment created, we will start to assign roles to the VMs that were created earlier. I have assigned the role of "Controller + Cinder" to the 3 Controller VMs that were created earlier
3) Note that you will need to assign the "Operating System" role to the Contrail VMs. You will also need to give specific names to those VMs, i.e. "contrail-1", "contrail-2" and "contrail-3".
4) After that, we will need to assign the "Compute" role to the last VM. The final state should look like the one below
5) Next we will set up the network interfaces for the VMs (Select all the nodes and click on the "Configure interfaces" button). Arrange the networks in the same order as below.
6) One of the mistakes that I made was on the disk configurations for the Contrail nodes. You will need to max out the disk allocation for that node to avoid running out of storage space for the Cassandra DB (click on the "Configure Disks" button to configure the Contrail nodes). I believe the recommendation is 500GB and there is a minimum storage requirement of at least 256 GB for the Juniper Contrail nodes (based on what I read from http://plugins.mirantis.com/docs/c/o/contrail/contrail-2.1-2.1.1-1.pdf). I have assigned 300 GB for my Contrail nodes due to limitation of my laptop.
7) Next, go to the Settings Tab and enable the Fuel Contrail plugin. I have also selected the option to assign public IP to all the nodes in the OpenStack cluster.
8) Lastly, go to the Network Settings and fill in the network information. Make sure that Network Verification returns clean.
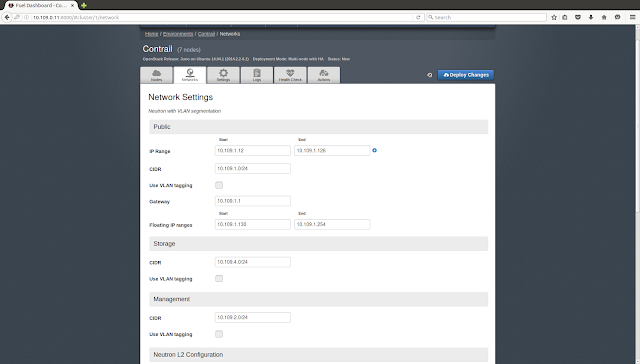
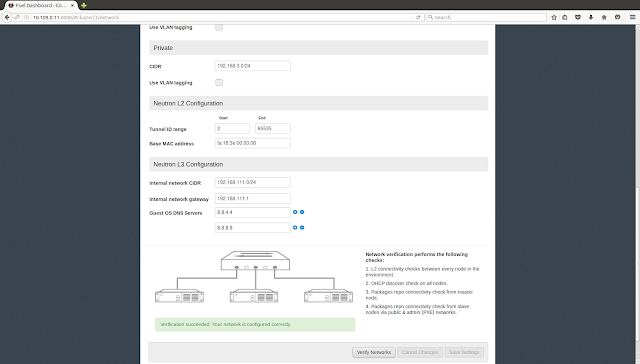
9) Deploy the cluster by clicking the "Deploy Changes" button. It will take a few hours (depending on the processing power of your machine) to deploy the cluster.
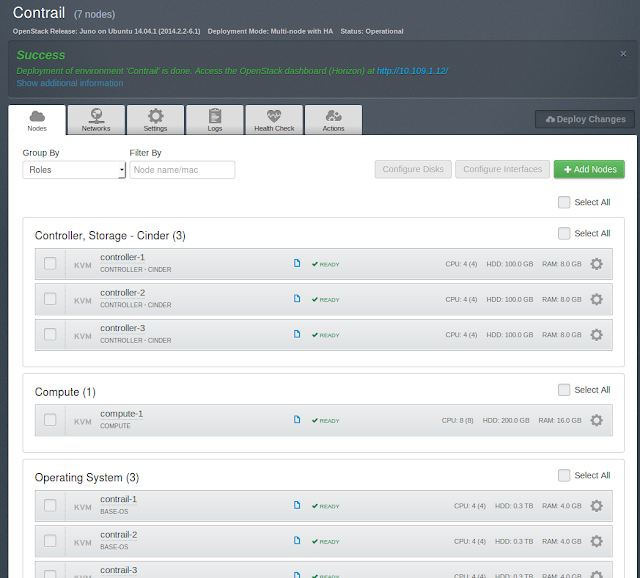
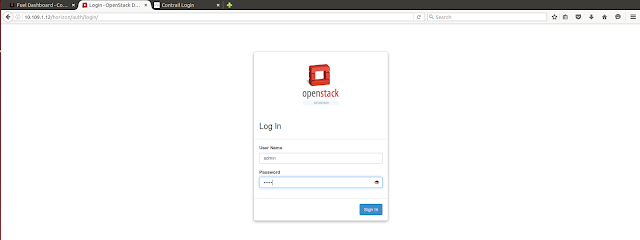
10) Upon successful deployment of the OpenStack cluster with OpenContrail, you will be able to access the Horizon Dashboard and OpenContrail Web UI. The default login credentials for both the Horizon dashboard and OpenContrail is admin / admin
The OpenContrail Web UI link will be https://10.109.1.12:8143/login while the Horizon Dashboard Web UI link will be http://10.109.1.12/horizon/auth/login/ (if you had used the same configurations as me).
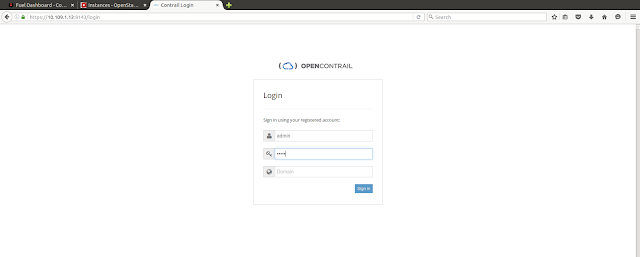
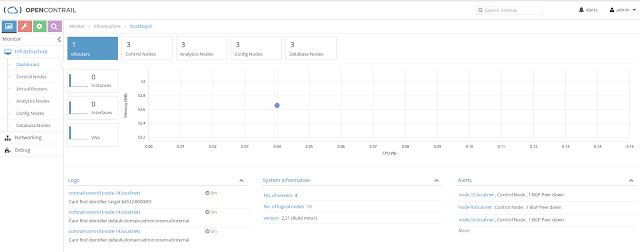
11) The next thing to do will be to test the functionality. Log into the OpenContrail Web UI and you will see the OpenContrail dashboard for the 3 Contrail nodes that we deployed. Note that you will see alerts saying that the BGP peer is down (since we did not set up the MX router).
12) Click on the "spencer" icon (red color button) on the dashboard to get into the "configure" tab. Click on the "Networking" drop-down list.


13) Click on the "+" sign to create a new internal network. I am creating a subnet with CIDR 10.100.0.0/24 with allocation pool 10.100.0.100 to 10.100.0.200 and gateway 10.100.0.1
14) The internal network will be created after that. Log into Horizon dashboard to verify that as well.


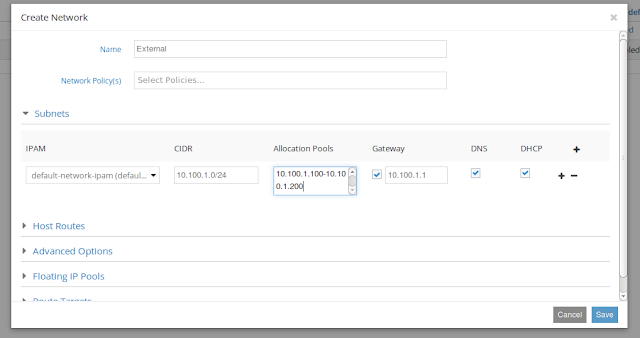
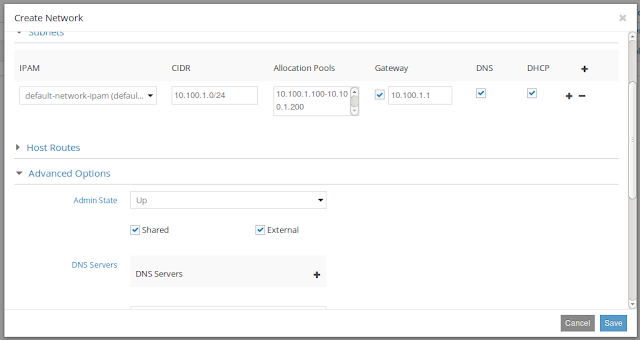
15) Next, create the External Network. I created a subnet with CIDR 10.100.1.0/24, allocation pool 10.100.1.100 to 10.100.1.200. Under Advanced Options, select "Shared" and "External" for this network. Fill in the Route Target (based on what was set up in Fuel Contrail Plugin). In my case, I am using the default AS Number, i.e. 64512 with 10000 as the Route Target.
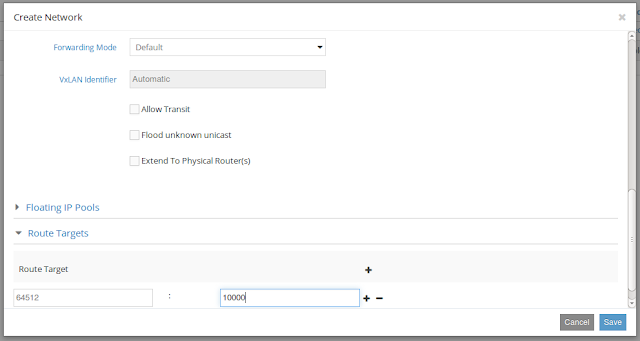
16) We will see the Internal and External networks after that


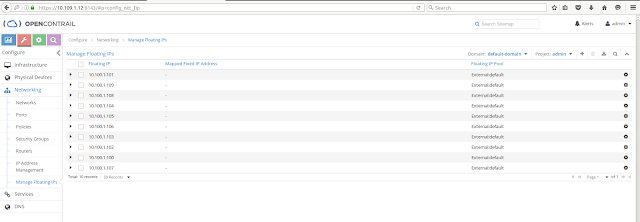
17) Next we will create 10 floating IPs. Go to Networking -> Manage Floating IPs section and click the "+" button. Type in 10 for the "Number of IP Addresses" and click "Save" to generate the floating IPs.

18) We will see the 10 floating IPs created after that
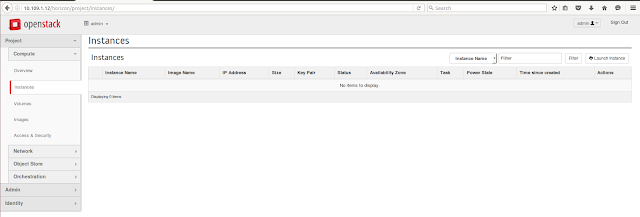
19) Log back into the Horizon GUI and create a Test VM with the Cirros Image (use the "Launch Instance" button)
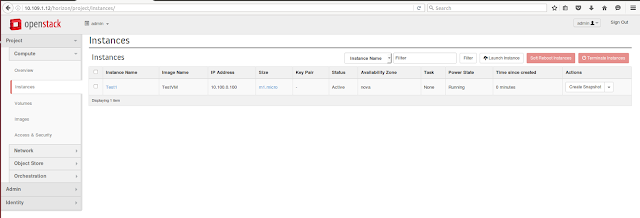
20) Create another Cirros VM. We will have 2 VMs after that.
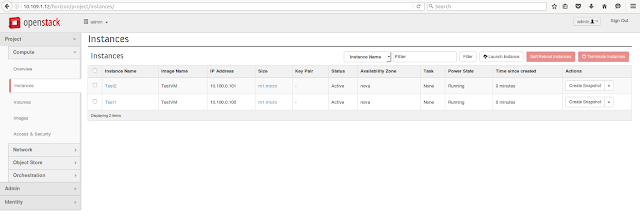
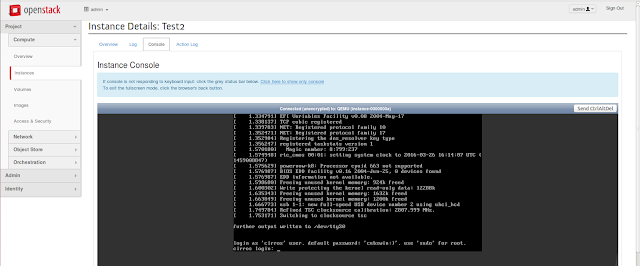
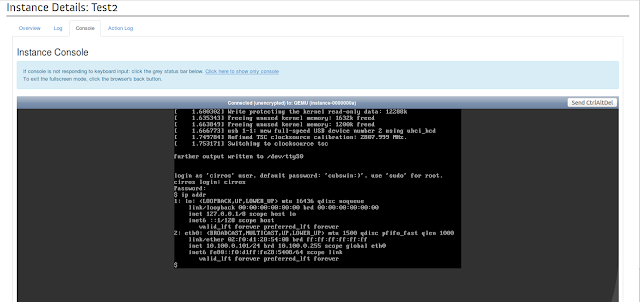
21) Go to the console of the Test2 VM. Log into the Cirros VM with credentials cirros / cubswin:)
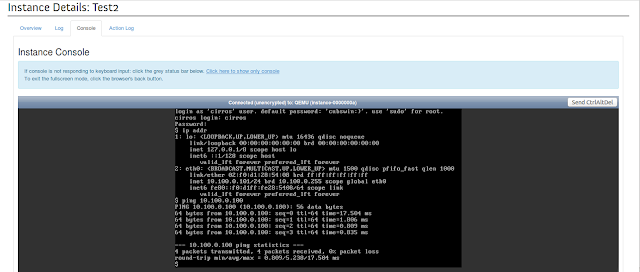
Check the IP address of the Test2 VM and perform ping tests on the Internal Network between the 2 VMs to confirm network connectivity. In my case, the Test2 VM is assigned IP 10.100.0.101. We will ping towards Test1 VM, which is assigned IP 10.100.0.100
22) Go to the OpenContrail GUI again to associate the Floating IP with the ports on the VMs.
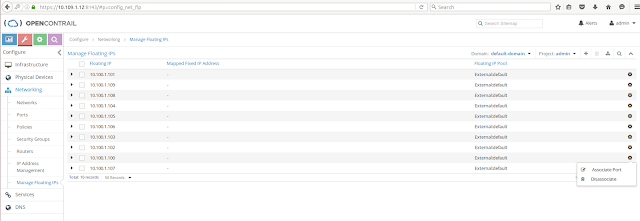
23) I have associated Floating IP 10.100.1.00 with 10.100.0.100 and Floating IP 10.100.1.101 with 10.100.0.101

24) Check that you are seeing the same information in the Horizon dashboard (you should see the floating IPs for the VMs now)
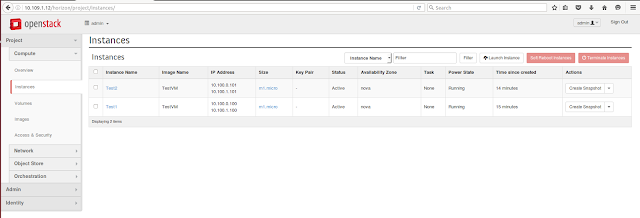
25) Perform ping tests between the 2 VMs using the Floating IPs
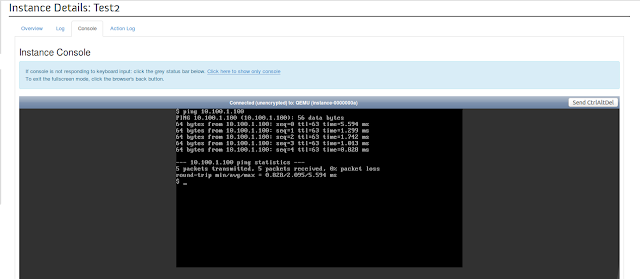
This shows that we have successfully set up the OpenStack cluster with OpenContrail. Although I do not have MX router that I can use to connect to the Internet, I am confident that the environment has been set up correctly and things will work with the proper settings on the MX router.
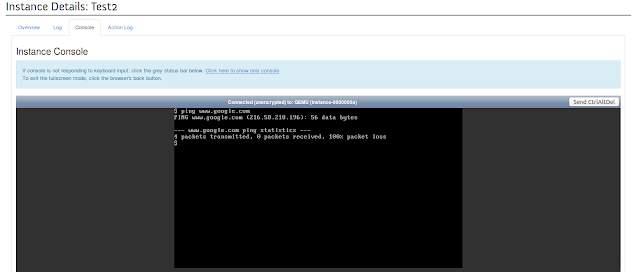
*Note that any ping tests towards the Internet, e.g. www.google.com will fail.
I hope that this post has helped those who are thinking of giving OpenStack and OpenContrail a try.
Cheer!


